When it comes to yeast bread making, choosing the right type of yeast is crucial for a successful bake. There are three main types of yeast commonly used in bread making: active dry yeast, instant yeast, and fresh yeast.
Active dry yeast is the most commonly used type of yeast and is usually found in small granules that need to be dissolved in water before being added to the flour mixture. Instant yeast, on the other hand, can be added directly to the dry ingredients without needing to be dissolved first. Fresh yeast, also known as cake yeast, is soft and crumbly and needs to be dissolved in water before use.
The type of yeast you choose will depend on your personal preference and the recipe you are using. If you are new to yeast bread making, it may be a good idea to start with instant yeast as it is the easiest to work with.
Experiment with different types of yeast to see which one works best for you and your baking style. Remember, the right yeast can make all the difference in creating beautifully risen and flavorful bread. Mastering the art of yeast bread making is all about practice and finding what works best for you.
Essential Ingredients for Perfect Homemade Bread
Are you ready to elevate your baking game and make the perfect loaf of homemade bread? Look no further! Mastering yeast bread making can seem intimidating, but with the right ingredients, you'll be on your way to success in no time.
The first essential ingredient for perfect homemade bread is high-quality flour. When it comes to yeast bread making, using the right type of flour can make all the difference. Bread flour, which has a higher protein content than all-purpose flour, is ideal for creating a sturdy yet tender loaf of bread.
Another key ingredient for successful yeast bread making is active dry yeast. This powerhouse ingredient is what gives bread its airy texture and helps it rise during baking. For the best results, make sure your yeast is fresh and active before adding it to your dough.
Lastly, don't underestimate the importance of salt in your homemade bread. Salt not only enhances the flavor of the bread but also helps to strengthen the gluten structure, resulting in a better rise and texture. Just a small amount of salt can make a big difference in the final product of your yeast bread making endeavors.
Mastering the Art of Kneading Dough
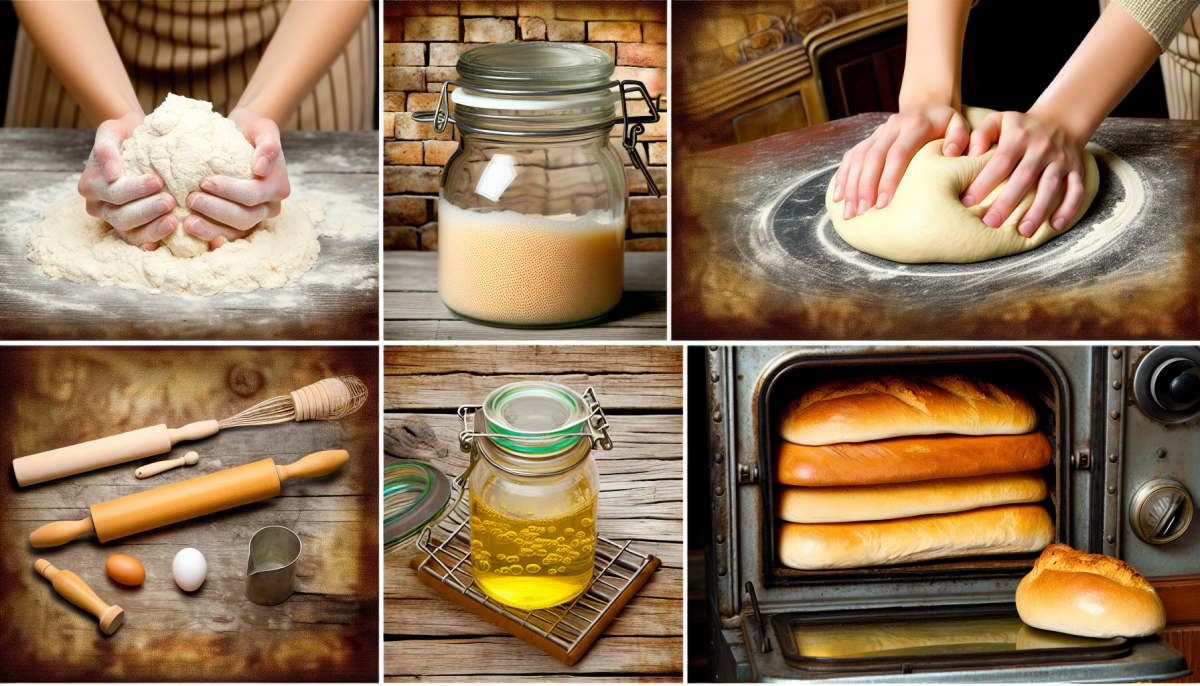
One of the most important steps in yeast bread making is mastering the art of kneading dough. Kneading dough is the process of gently working the ingredients together to form a smooth and elastic dough. This step helps to develop the gluten in the dough, which is essential for creating a light and airy texture in your bread.
When kneading dough, it's important to use the right technique. Start by lightly flouring your work surface to prevent the dough from sticking. Then, using the heels of your hands, gently push the dough away from you, then fold it back over itself. Rotate the dough a quarter turn and continue this process for about 10-15 minutes, or until the dough is smooth and elastic.
Practice makes perfect when it comes to kneading dough. Don't be afraid to get your hands dirty and really get into it. As you become more familiar with the process, you'll start to develop a feel for when the dough is ready. Remember, the key to successful yeast bread making lies in properly kneading the dough, so don't rush this step!
Baking and Storing Your Freshly Made Bread
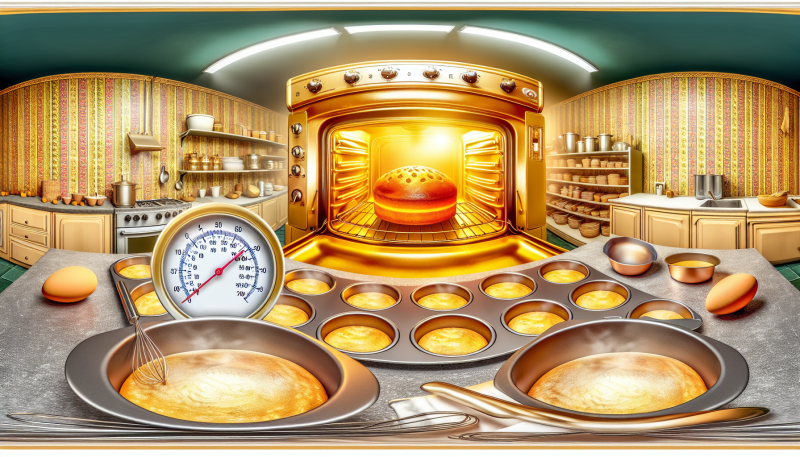
Once you have successfully made your yeast bread, the next step is to properly bake and store it to maintain its freshness and flavor. Baking your bread to perfection is crucial for achieving that warm, fluffy texture that we all love. Preheat your oven to the recommended temperature and carefully place your dough inside. Keep an eye on your bread as it bakes, making sure to adjust the temperature or baking time as needed.
Once your bread is finished baking and has a beautiful golden crust, remove it from the oven and let it cool on a wire rack. This allows the bread to continue cooking on the inside without becoming soggy from trapped steam. Once it has cooled completely, you can slice into your freshly baked loaf and enjoy the fruits of your yeast bread making labor.
Proper storage is key to maintaining the freshness of your bread. Store your yeast bread in a cool, dry place such as a bread box or pantry. Avoid storing your bread in the refrigerator as this can make it go stale faster. If you don't anticipate finishing your loaf within a few days, you can freeze it in a plastic bag to prolong its shelf life. Simply thaw it at room temperature when you're ready to enjoy it again.


